A natural dye you can harvest from the garden, textile artist Teresinha Roberts of Wild Colours explains how to grow your very own ‘indigo’ woad plant.
Earlier this year, I introduced you to three of Europe’s top natural dye plants in the form of madder, woad and weld. Here, I focus on what you need to know to grow your very own woad plant in your allotment or garden.
What is woad?
The Woad plant (Isatis tinctoria) is a famous natural dye and source of natural indigo dye, used for several thousand years in Europe and the Middle East. Woad dye extraction produces natural indigo dye from the dark blue-green, spinach-like woad leaves.
Woad produced the only light-fast blue in Europe until the introduction of indigo from Asia. Small amounts of indigo found their way into Europe throughout the Middle Ages, starting as early as 1140 in Europe and 1276 in London.
Initially the hard lumps of indigo were used mainly as an ingredient in artist’s paints. The importation of indigo to be used as a dye was encouraged in the late 1500s. The woad growers, however, uneasy about the competition, persuaded the French government to prohibit the use of imported indigo in early 1600s. Later on, woad and indigo were used alongside each other, the woad assisting the fermentation of the indigo.
Growing your own woad is easy and fascinating thing to try – here’s how to do it.
Growing woad from seeds
The seed is sown thinly spaced in March, in shallow drills or in seed trays, just covering the seed. Here’s a YouTube video of me planting woad seeds on my allotment which shows you exactly what to do.
Planting woad seedlings
The seedlings are transplanted a foot apart when they are large enough to handle. Woad plants like an alkaline soil, so apply lime to the soil about a week before transplanting. For dark colours woad needs plenty of nitrogen, which it can get from fertilisers such as dried blood & bone meal or hoof & horn meal.

Woad seedlings. Credit: All About Woad (Wild Colours)
Woad cultivation
Like other plants of the cabbage family, woad plants are susceptible to club root. The crop needs rotating and woad should not be planted where broccoli or other brassicas have been grown.
If your area is infested with club root, you may get away with transplanting the woad into pots, letting it grow for a couple of weeks or more and then transplanting it into the final position.

Woad harvested with secateurs. Credit: All About Woad (Wild Colours)
Harvesting leaves for dye extraction
Woad planted in March can be harvested from July until September. In some years, woad can be harvested as late as November but the first autumn frost may destroy the colour. Some people manage to get colour all the year round.
Use secateurs to cut the woad leaves, avoiding old leaves with blue in the leaf stalk, and leaving as much leaf stalk behind as possible. It is better to cut all the leaves of one plant, so as to let the new leaves grow again.
The leaves can now be used for dye extraction – coming soon!

Next steps: a ball of woad for dye extraction. Credit: All About Woad (Wild Colours)
This post was adapted from an original article by Teresinha Roberts available here. You can learn more about natural dyes via Teresinha’s websites Wild Colours and All About Woad, as well as reading our dedicated topic introduction here.
 About the author
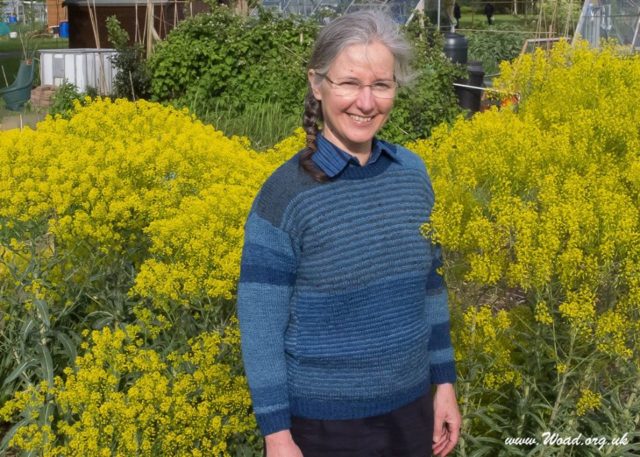
Teresinha Roberts is a Brazilian-born artist and sculptress specialising in the use of textiles and natural dyes. A member of the Guild of Weavers, Spinners and Dyers, she dyes fabric with woad grown on her Birmingham allotment and has a workshop at The Custard Factory in the city. She runs websites Wild Colours and All About Woad.


1 Comment
Thanks for that Teresinha, a nice little article to get you interested in woad. Very nicely done, what a pity March is about done for this year yet it still looks like January! But think positive, that gives me time to get organised and ready (or as near ready as I ever will be) for next year! Now to head over to your web sites!