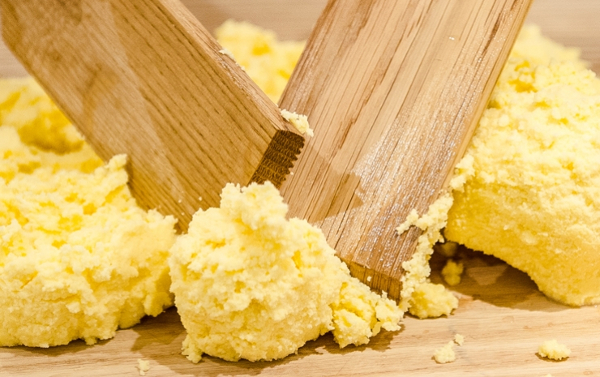
I made some winter butter this winter from the raw milk of my grass-fed Jersey cows. Butter made in the depths of the bleak midwinter from winter milk is a deeply flavoured, rich, indulgent treat. I can imagine in days gone by it would have been highly coveted. Fresh from the churn, I spread it thickly onto some just baked wholemeal bread and took a big bite – oh pure, unadulterated pleasure! Talk about rejoicing taste buds! Winter butter is exquisite and highly addictive!
When you buy butter from a supermarket, you get the same experience every time. It’s part of the marketing mantra of large-scale food manufacturing – to give the customer the exact same experience lest they be disappointed and change brand. And to achieve that consistency involves a long, complex process, which denudes any seasonal differences in the primary product, milk.
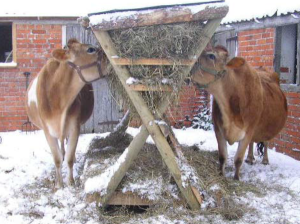
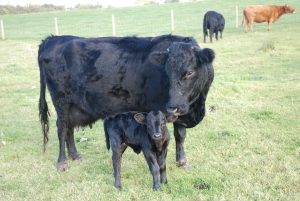
Here we gratefully take what the cows give on a daily basis. And even though each cow’s output can vary, overall, winter milk reflects the diet of the cow. Our cows go out to graze grass during the day (recent storms permitting!) and come in to a large straw barn at night to eat pasture hay.
Even though the cows have access to a fresh paddock with plentiful grass every couple of days, the grass is not growing much, if at all at this time of year. Without the plant sugars produced by photosynthesis winter grass is a lot less sweet. Consequently the milk is less sweet but, with all the concentrated goodness in hay, is full of healthy minerals.
Milk contains lots of different nutrients, which vary in richness according to the diet of the cow. I have a theory on the main seasonal differences, which I hope to test over this year by sending samples of milk to a lab… so watch this space for the results!
Making winter butter
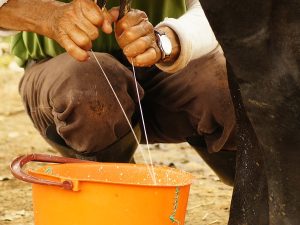
To make my winter butter I started with a tad under 30 litres of fresh raw milk, which, after putting it through the cream separator, gave me around 3 litres of cream. That’s an interesting statistic already – winter whole milk separated gives 90% skimmed milk and 10% cream. Let’s see how that changes too over the seasons.
I could have used this cream as it was to make the butter. However, having been making ‘normal’ butter for nearly 10 years, I am now a convert to cultured butter.
Cultured butter
Making cultured butter is really quite straight forward. It’s just like making yoghurt but with cream rather than milk. Bring your cream to room temp (around 20C) and then sprinkle over a little mesophilic starter culture. I use this one from GN Ltd. You only need a tiny amount, about ¼ teaspoon for 3 litres of cream is plenty. Let the culture dissolve a bit and then stir it thoroughly and leave for 12hrs, or more if the temperature is a little cooler. In my creamery it is often only 16C, so having warmed the cream to 20C to add the culture and get it started, I leave mine for up to 24hrs to ‘work’.
I should note here, that it’s important to remember to keep all your equipment spotless and sterilised with some boiling water before use to ensure you don’t introduce anything unwanted into your cream.
You’ll know when your cream is ready to churn because it will have thickened and have a lovely fruity aroma, just like crème fraiche. Actually, given the starter culture I use is one for crème fraiche, than that is exactly what you have just made.
I used to churn my butter in a lovely old Lister glass churn. It works beautifully and is perfect for home-made butter. However, now I’ve got a bit more ‘serious’ I used a small stainless steel Milkline churn that can make more at a time. At home you can, of course, use a normal food mixer with the whisk attachment.
Once churned, it only take a few minutes, simply strain off the buttermilk (save and use to make some gorgeous scones), then rinse the butter three or four times with fresh, cold water until it runs clear. Squeeze out any excess water, weigh and add salt to taste. I use 15g salt per kilo of butter. Make sure you mix the salt well throughout the butter then get your butter pats out and have some fun!
Wrap your butter in some greaseproof paper. It should easily last 3 weeks in the fridge but, of course, it will be so delicious you’ll devour it well before then.
I’d love to hear how you get on and happy to help resolve any problems, so feel free to get in touch.



3 Comments
Prosaically, I went to Morrison’s just after Christmas and they had reduced the price of 600ml double cream pots to under a pound. On impulse, instinct, I bought half a dozen and, back home, poured them into a big bowl and got out the electric whisk. After a surprisingly long twenty minuted it finally turned and I was left with, yes, buttermilk and also a squidgy mass of butter infused with said buttermilk.
Forewarned that such has to be removed to avoid unpleasant and rapid souring, I then kneaded fresh, spring water into it a few times, until the waste water was clear.
Butter was, indeed, gorgeous and kept until all used up, a month or so later.
Very interesting short article. My problem with this is the amount of milk required for a decent amount of butter not owning or having contact with a cow or three of my own – no space (one of the problems I’m sure many of us have in this overcrowded island). Admittedly I do get some 20 pints of raw milk from the supplier mentioned in the ealier article on raw milk (Hook and son) and whilst this is good the majority goes into cheese. There again I do also get some butter from them so I may just forego my cheese for a month to have a go at producing my own butter, just to prove I can – oh the joys of being a pensioner on a limited income. If I do decide to go ahead I’ll let you know (possible come cap in hand asking questions as well).
The butter sounds amazing! Pity not all of us can’t do that ?