Modern industrial cheesemaking uses a bunch of electricity and single-use plastic, but there are ways to go back to basics and make beautiful cheeses using homemade cultures and off-grid cheese aging setups. In this article I’ll look at several aspects of cheesemaking, and how to approach each one in a low impact way.
Milk
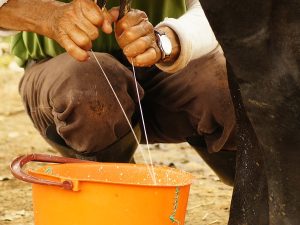
Milk is best from home dairy animals, but there are also herdshares and small dairy farms that package their milk in returnable bottles, for a plastic-free milk supply.
Cultures
My favourite cheese culture to use is kefir made from milk kefir grains. There are also several other homemade options, from catching and culturing wild bacteria in raw milk, through to yoghurt and crème fraiche.
Rennet
Cheeses can be made with and without rennet. Animal rennet for hard cheeses can be made from young ruminants, and plant rennets for soft cheeses can be made from many common types of weeds such as thistles and nettles.
Salt
Unrefined salts can be successfully used in cheesemaking, either locally harvested sea salts, or Himalayan and other salts that can be traded in bulk. These are generally less ‘salty’ than refined salts, as they contain less sodium and more other minerals, so slightly more of these salts are used in cheesemaking.
Vinegar and lemon juice
Ricotta, paneer, and fast mozzarella are not cultured like other cheeses, but have acidity added in a different way. While many recipes use lab-grown citric acid for this purpose, it is easy to use any kind of local vinegar or lemon juice instead.
Cheesemaking equipment
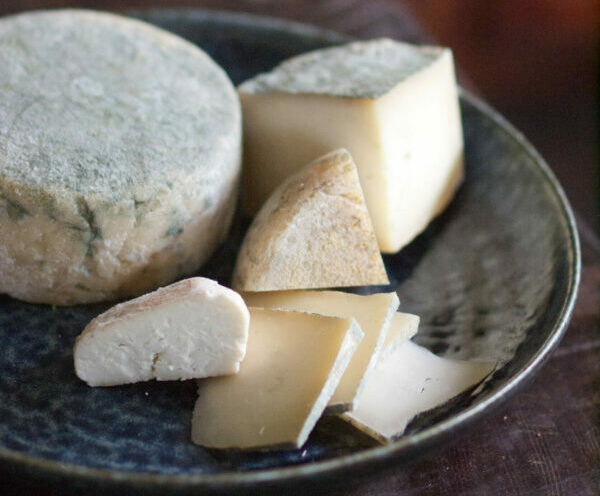
Most of the equipment you need to begin cheesemaking is probably already in your kitchen: pots, spoons, and colanders. Cheesecloth or butter muslin is useful to have, but for many soft cheeses you can drain your cheeses with any tea towel that isn’t fluffy. With this equipment you can make many cheeses, such as ricotta, paneer, chèvre, cream cheese, labneh, feta, crottin, and mozzarella.
For hard cheese, and other cheeses that are drained or pressed in forms, cheese forms (or cheese moulds) can be made at home by drilling holes in the base and sides of straight-sided food-grade plastic buckets such as the ones used to package yoghurts and dips. If you’re handy with pottery or basket weaving, cheese moulds can be constructed with these traditional methods too. Most cheeses do not need a cheese press, and can use a jar of water as the pressing weight, but if you are a real Cheddar fanatic, there is a way of using the kind of tie-down or ratcheting straps that are used on trucks to put pressure on your Cheddar cheese.
The size of cheese mould you’ll need will depend on how much milk you’re working with. Cheese is always best when it’s made from fresh milk, so I prefer to use a small cheese mould that’s around 12cm (5” wide) and make my cheese in small batches from one morning’s milk from my goats, which is between three and eight litres, depending on the season. For those who have fifteen to twenty litres (four to five gallons) of milk to turn into a cheese, a two litre yoghurt bucket will make an excellent hard cheese mould.
Aging cheeses
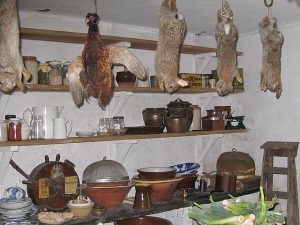
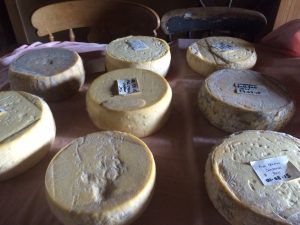
Cheeses will age best in a cool place with high humidity and some ventilation. Caves, root cellars, and traditional larders provide these conditions, and with some experimentation, it’s possible to create places at home to age cheeses without electricity.
My makeshift larder is a room with a west-facing window, where the hills to the west block the afternoon sun for most of the year. The room has cement walls and a tiled floor, and with a screen over the window to keep animals out, I open the window at night to let the cool air in, and the the thermal mass of the tiled floor and the jars of food I keep in there help to buffer the temperature from too much heat during the day.
If you can find a place where the temperature is usually between 8ºC (46ºF) and 15ºC (59ºF), that will be ideal for cheesemaking. Up to 18ºC (64ºF) is fine for shorter-term aging, and for parmesan-style cheeses.

Seasonality
Some times of year, in makeshift aging setups such as the one I describe above, there are more moulds, and sometimes there are less. Sometimes the cheeses end up quite dry and parmesan-like, other times they are softer and creamier. Some times of year I get lovely Swiss-style cheeses full of holes, other times of year the conditions are not the same. Appreciating the seasonality of milk and the changes in aging conditions rather than expecting uniform results year-round can be an important aspect of low impact cheesemaking.
Whey as a resource
When making a cheese, we generate a lot of whey. Some cheesemakers see this as a waste product and pour it down the sink, but I think whey is a really good thing to have on the homestead.
A few ways to use whey:
• Feed to your compost heap for extra nitrogen and minerals.
• Make Norwegian whey cheese with hard cheese whey.
• Use it to soak grain for pigs and poultry.
• Use it in cakes, breads, and to cook grains in.
• Drink it as-is, or use it to ferment fruit juices and other sweetened liquids.
For more information
I’ve covered a homestead-friendly approach to cheesemaking in my book “Natural Small Batch Cheesemaking”, if you’d like to learn more, visit the Kickstarter page here: https://www.kickstarter.com/projects/706848724/make-your-own-cheese-natural-small-batch-cheesemaking-book?ref=batv6f
About the author
Kate Downham lives a simple life off-grid in the forest, milking goats, making cheese, growing food, fermenting, preserving, and teaching these skills in a practical and accessible way.
She blogs and shares recipes at https://thenourishinghearthfire.com

