You’ve picked your apples but what to do now? Learn how to make the best of the harvest with Nick Mann’s brief guide to how to store apples over the winter.
I’m sightly nervous about putting together a brief guide to help people store apples. My other half had a lovely grandfather who doted on her – nearly as much as he doted on his garden. In that garden he had lovely old apple trees, which miraculously seemed to produce fruit until spring. Cyril ought to be writing this. Anyway, here goes.
In the days before freezers and global trade, gardeners planned which tree varieties they planted to allow them to eat apples until the following spring. Some keep much better than others. Interestingly and understandably the “heritage” varieties tend to perform the best. “Understandably”, as some were selected for their longevity once picked.
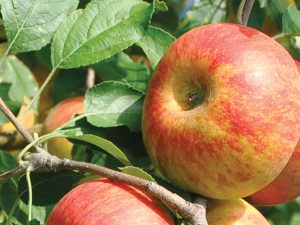
Typically russet types last well, for example. Ashmead’s Kernel was known as the “Christmas Apple”. Several others last until March – or even longer. Good keepers are Kidd’s Orange, Newton Wonder, Beauty of Stoke, Striped Beefing, Sturmer Pippin, Lord Hindlip, Lane’s Prince Albert, and the longest of all – Edward VII… These are generally late cropping apples, and many actually taste better after several weeks of ripening once harvested.
They’ll only last, though, if you pick and store them properly.
How to pick apples
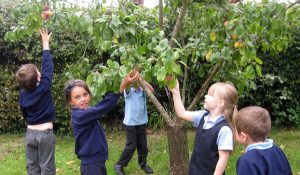
When you pick an apple, don’t pull it off its stem. Twist it a quarter of a turn and see if it comes off. Be careful not to bruise the skin, and put the apple very gently in a basket so as not to damage it. There’s amazing variation on a single tree as to colour and ripeness. Apples on the north side of a tree will look quite different and ripen more slowly than on the south side. Those on the outside of the tree will ripen quicker than those in the middle. You’ll pick apples at different times from the same tree, so will need to revisit it. Only pick ripe fruit, which has the most colour.
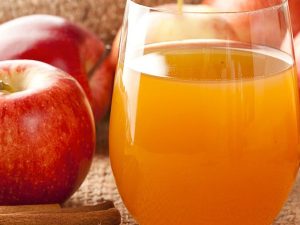
Check over the apples you have picked. If any look bruised or damaged, or they’re windfalls you have picked up, then either eat or juice them if they’re eaters, or cook and freeze them if they’re cookers. ONLY keep the perfect looking ones.
Where to store apples
Cyril used to store apples in his shed. Perfect. It was dark but it wasn’t exactly hermetically sealed, so good ventilation and no build up of moisture. It was shaded too, so didn’t get too hot on a warm autumn day. His big problem was mice, for which, gentle reader, you can reach your own solution. Our roof space here would be hopeless – too well insulated – and the cellar wouldn’t be ideal either – too damp. The garage is much better. You want somewhere cool, frost free and dry.
Don’t keep them with something else with a strong smell which will taint them – paint, or onions, for example.
How to store apples
However careful you are there will be at least one bad apple in your harvest, and you won’t be able to spot it. If it touches another it will spread rot, so either store apples so that they’re not touching or, if they are, wrap them in paper. When you do find that bad apple, chuck it out. Try to keep different cultivars apart, and label accordingly.
The ideal containers for your apples are crates, slatted shelves, polystyrene or papier-mâché trays or shallow wooden boxes. Ideally, these will allow air to move through the sides and top. You can buy wooden storage racks – the posher ones even have drawers.
Keep an eye on the apples in store and, once you think a tray is ready, remove it to use – and enjoy.
Find the original post here on the Habitat Aid blog.
 About the author
Based in Somerset, Nick Mann started Habitat Aid in 2008 to promote and sell British native trees, hedging, aquatic plants, wildflower seed and heritage fruit trees sourced from a community of small specialist UK nurseries and growers. They also offer groundwork, planting and seeding as well as ecological services through their network of partners.

