Tipis - introduction
“Their tipis were built upon the earth and their altars were made of earth. The birds that flew into the air came to rest upon the earth and it was the final abiding place of all things that lived and grew.” – Luther Standing Bear
Contents
What are tipis?
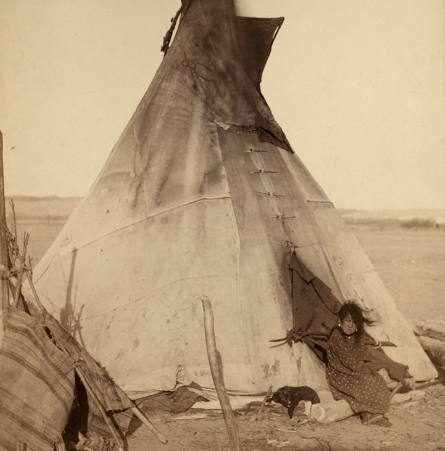
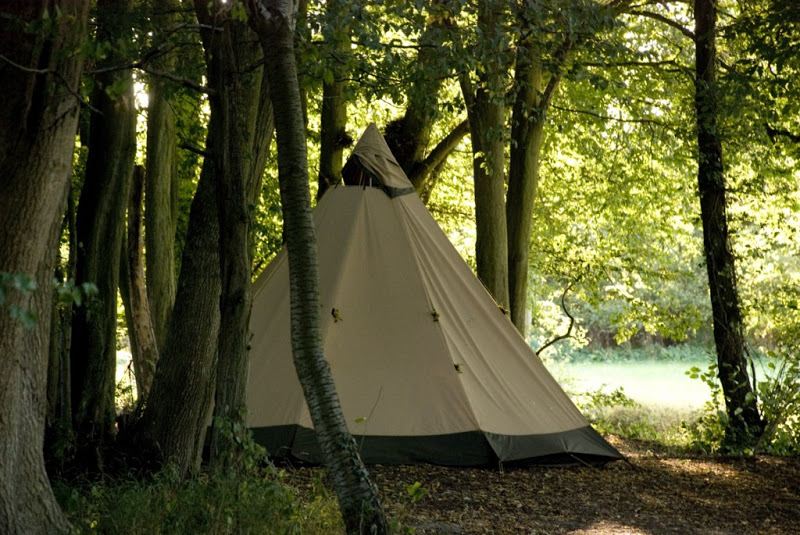
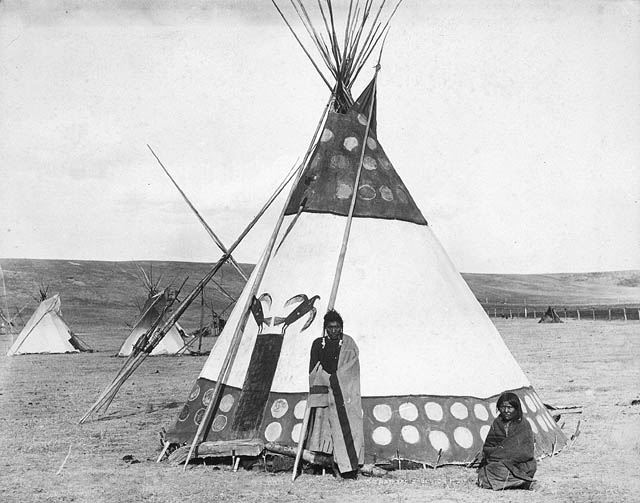
Tipis (or tepees, or teepees) are conical-shaped tents made using long poles with traditionally a skin covering. Tipis are the traditional Native American nomadic dwellings. Originally made from buffalo hide, they were quick and easy to pitch/take down and easily transportable, allowing the tribe to follow their main source of food and skins – the buffalo.
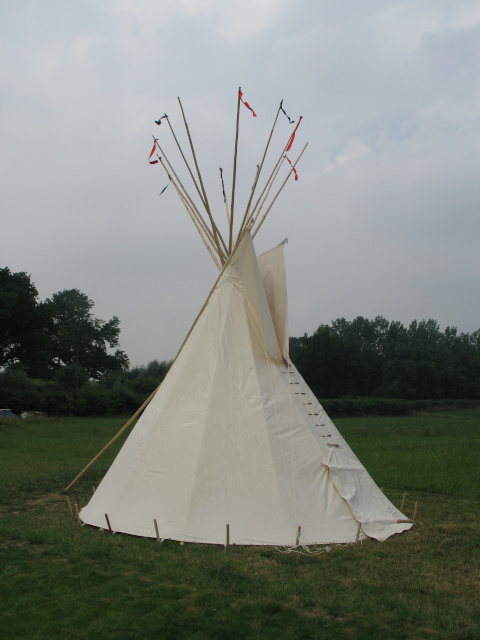
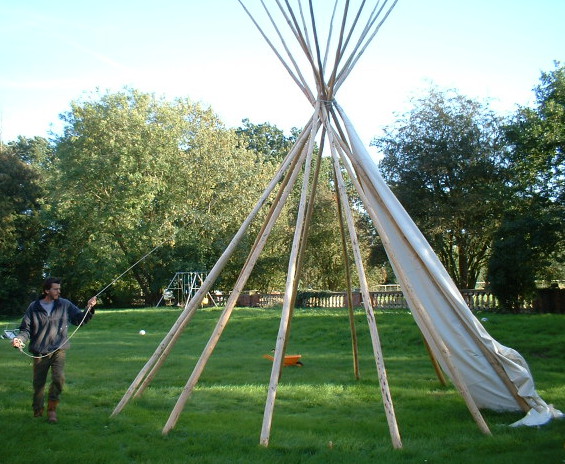
A tipi consists of between 11 and 20 poles, depending on size, tied at the top to form the famous conical shape – but with an oval rather than circular base. It has an outer cover, now mainly canvas rather than skins, which covers the whole of the outside of the frame, but with a gap of a few cm at the bottom. On the inside is a canvas liner that goes from the ground to about 2m up the inside walls. The gap allows an upward airflow, which means there can be an open fire in the middle of the tipi, and the smoke is carried up and out of the smoke flaps at the top.
There are many different kinds of tipi, all with minor variations according to the tribe that made them. Most are 3-pole tipis (Sioux, Cheyenne); this refers to the number of poles initially used to get the ground plan right, then more poles are added later. There are also 4-pole tipis (Blackfoot, Crow). Other variations are primarily to do with the smoke flaps – being longer/shorter or narrower/wider. The most commonly-produced tipi today is the Sioux, but often with the modification of an extended smoke flap similar to that of the Cheyenne.
A tipi is not the same as a wigwam by the way – a wigwam is more like a bender.
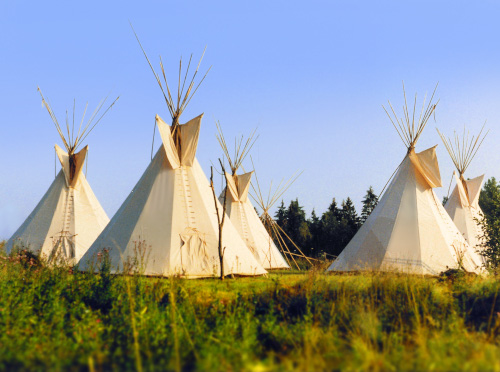
Tipis are the traditional dwellings of some Native American tribes, in particular the sometimes nomadic tribes of the Great Plains and Canadian Prairies. It’s worth noting that tipis are incorrectly attributed to all Native American tribes, when actually there was a wide variety of dwelling structures. A tribe could quickly dismantle their tipi when leaving, and raise a tipi at their new site. Often the women would erect the tipi, and could do so in around half an hour.
Tipis are surprisingly versatile. By adjusting the canvas, they can either keep the space cool by creating an airflow from below, or can be warm in winter. Traditionally they would be insulated in winter and stay dry in heavy downpours (if put up correctly). There would be an open fire in the centre of the tipi, for keeping warm and cooking.
What are the benefits of tipis?
- It’s a very cheap form of shelter if you’re tough enough (heating and cooking is via an open fire, then there’s collecting wood, creepy crawlies, and in the UK, rain and mud). A good-quality, well-looked-after tipi could easily be in constant use for 10 years before the canvas needs to be replaced (and maybe some of the poles). As you’re looking at £1500-2500 for a basic 5½m tipi (average size), that’s very cheap accommodation – even cheaper if you make your own.
- Can be part of a very simple, back-to-nature lifestyle, with a very small eco-footprint.
- Natural, biodegradable materials.
- You can be mobile: tipis are easily transportable and can be put up or taken down in less than an hour.
- Easily repairable.
- No mortgage required.
- Very affordable garden accommodation for a young person?
- They’re beautiful spaces to be inside and can make a wonderful gathering space around a central hearth.
What can I do?
Only the hard-core will attempt to live in a tipi full-time, and if so, the canvas has to be good quality and treated to be waterproof; plus the canvas could need re-proofing every few years. Most people will choose to live in them temporarily, and probably in the summer, or use them for holidays.
There are a number of campsites and venues offering tipi holidays. If you want one of your own, you can buy a tipi or you can have a go at building your own.
Building a tipi
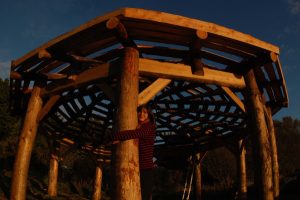
You can cut your own poles, from softwood such as spruce. The poles will taper – from around 10cm at the bottom, to almost nothing at the top. The most common tipi size is 5½m – that’s the distance from front to back at ground level, and also roughly the height the canvas reaches from the ground. The poles for a 5½m tipi will be 7-8m though – 14-17 of them. You’ll have to take the bark off with a draw-knife, otherwise any water that touches the poles will drip into the tipi; plus it looks nicer.
You can also cut and stitch your own canvas. See further resources, below, and the book The Indian Tipi explains how to make different types of tipi, including patterns for cutting canvas. Or you could make your own poles and buy the canvas.
Other considerations
Rain hat: stops rain from entering the tipi. It consists of a large square of canvas with a pocket in one corner, and loops to attach ropes to. It is fixed to the rain hat pole in one corner, and pegged down on the other 3 corners. You have to cut the poles down so that they are only sticking out c. 50cm over the top of the canvas; it takes away some of the beauty, but it stops you getting wet.

Smoke flaps: flaps of canvas at the top of the tipi; they can open and close, and with a rain hat, you can have the smoke flaps wide open to let the smoke out, without allowing rain in.
Door: a piece of canvas held on by lacing pins.
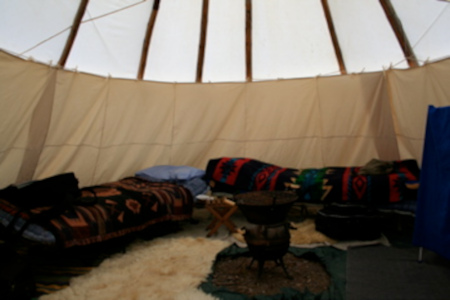
Floor: some people prefer the natural grass/earth, or you can use wooden decking, ground sheets, sheepskins or other skins (but be careful of the fire).
Lining: essential for insulation, and to create an updraught to take away the smoke from the fire.
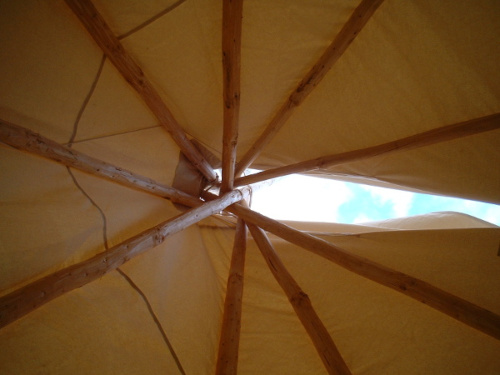
Ropes & pegs: the tipi is pegged down all the way round, and the rope is for tying the poles together at the top, and can be used in conjunction with poles for opening and closing the smoke flaps.
Ozan: a partial internal ceiling, covering the back part of the tipi, to stop any raindrops falling on the sleeping area; with a good rain hat, this is unnecessary.
Painting: Traditionally, the majority of tipis would be left plain. Some tipis were painted with designs. These designs might depict achievements, battles, hunts, or dreams and visions. Each mark had symbolic meaning and different tribes had their own styles.
If you’re wanting to live in your tipi
Appliances: if you want them, you’ll need an extension cable from the mains, or if you’re out in the wilds, a diesel generator (noisy, polluting) or pv panels / wind turbine (better).
Toilet: compost loo or tree bog?
Planning permission: you do need planning permission for a tipi if you intend to live in it; talk to your local planning officer or don’t get caught. Of course tipis are temporary dwellings – but they are tall, and visual impact is high, and likely to annoy neighbours. However, the kind of person wanting to live in a tipi is unlikely to want to do it in an urban area. If it’s on your land or you have the permission of the owner, it’s fine for 28 days in any one year, and if you manage to live in a tipi for 10 years, and apply for permission retrospectively, you’re likely to get it. As you won’t be receiving mail though, you’d have to prove it via aerial photographs or Google Earth, maybe?
Finally, as mentioned before, tipi living is tough – think washing yourself and your clothes – stream? heating water over the fire? launderette? But hey, life is short – and what an incredible thing to do.
Further resources
- The Plains Indian Tipi – 16-page pdf on how to build your own tipi.
- Instructables – make your own tipi.
- tipi.com – instructions for setting up a 3-pole tipi.
Specialist(s)
Thanks to David Field of World Tents for information.
The specialist(s) below will respond to queries on this topic. Please comment in the box at the bottom of the page.

David Field lives at Redfield Community where he runs World Tents. ‘Everything we make or sell is either natural or made from recycled materials. Some of the wood we use comes from as close as 200 metres away. All of it comes from sustainable woodland. Whilst we do offer a polyester mixed weave canvas we prefer to sell and recommend the use of the natural 100% cotton canvas.’

3 Comments
It caught my attention when you mentioned that tipis offer cheap accommodation but they can last a long time if they’re made of good quality and treated to be waterproof. My friends and I are travel photographers, and we’re camping out for a month to take photos for work starting next week. We might consider setting up luxury nomad tents for our accommodation once I find a store that sells tipis.
very rizzy
Hello, thanks to David for showing us all the tipi’s. It was through him that I began painting tipis for people, 8 years ago. I use a special high pigment, light fast, flexible paint in a natural colour range, mainly red ocre, black and green. The tipis I paint are permanently pitched outside and used all year at Paccar Scout Camp at Chalfont heights in Buckinghamshire. There are eight in a circle and my designs serve to identify each tipi for the young campers. There are bears, badgers, buffalos, birds, horses, lizards, people, and native American symbols of friendship and togetherness. Every year the two oldest ones are replaced and I paint new designs. It takes a bit of dry space for this, with the new canvases laid down flat in a big half circle. If we are lucky with the weather this can be done outside, but to be safe from the elements a roof at least is advisable.
I have also worked with youngsters from adventure playgrounds, making stencils to decorate their tipi. I love doing this work, and can design to your spec. I will also paint yurts and any other canvas structures.
Drop me a line if you need canvas painting !