How to ripen your Halloween pumpkins


Not long left to get your pumpkins ready – and this timely blogpost explores how to ripen your pumpkins for Halloween!

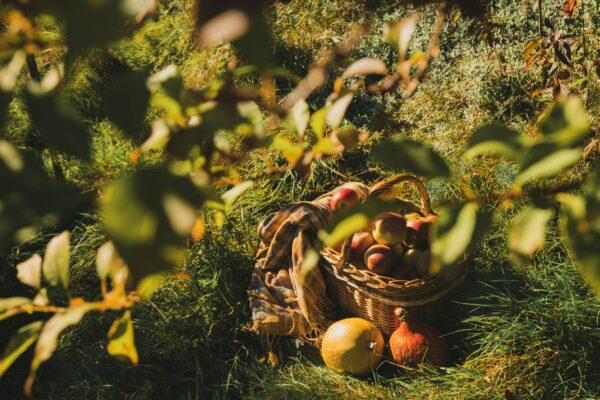
Trick or treat!
Only a few weeks till Halloween and if you’ve been growing pumpkins, this is your time to shine. Carving your own home-grown pumpkin into a Jack’o’Lantern for the doorstep is mighty satisfying, and one of those rites of passage for a veg grower: it puts a full stop on the autumn harvest and readies you for the crisp, bright days and rich, earthy flavours of winter.
Your choice of pumpkin is crucial if you’re to produce a lantern that’s just the right size and shape for carving. Don’t be tempted to grow real mammoths like ‘Atlantic Giant’: they’re fun, but produce behemoth fruits that easily lose their shape and are often big enough to block the doorway!
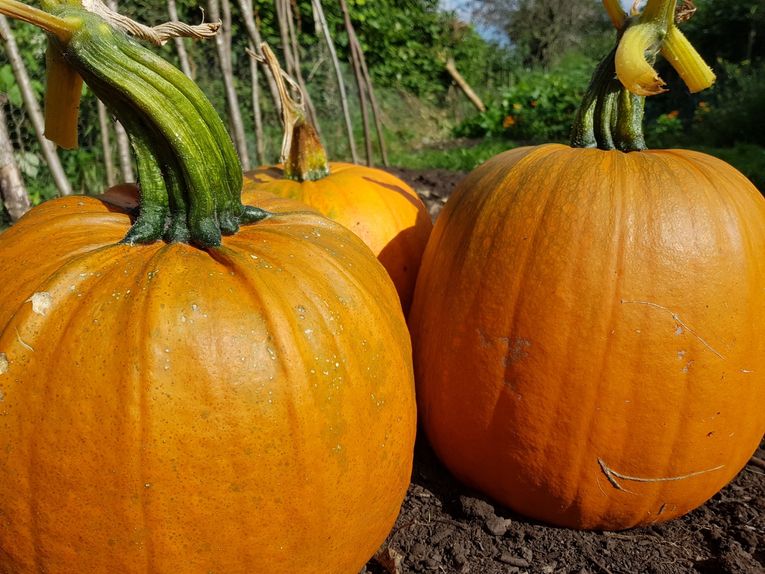
Steer clear of heavily ribbed Cinderella pumpkins like ‘Rouge Vif d’Etampes’, too – they’re delicious, and the fruits are beautiful, but those ribs get in the way of a good design. My favourite for doorstep-sized pumpkins that are almost perfectly spherical and smooth is ‘Jack of All Trades’, with fruits about 45-60cm across, satisfyingly orange and the perfect blank canvas for scary designs.
Before you whip out the carving knife and stencils, though, you’ll need to start with a fully ripe pumpkin. This is not a process to rush: unripe pumpkins are bland in flavour and soft, too, so they don’t store (or carve) as well.
Take your time, though, and you’ll be able to store your pumpkin, often for months. Since it’s quite likely that once you get to the first of November you’ll have had quite enough of pumpkins for the time being, just stash your surplus in a dry shed or spare room and come back when you fancy another hit of sweet’n’savoury pumpkin pie later in the winter.
Harvesting your pumpkin
The whole process starts some time in autumn. Here’s how I do it:
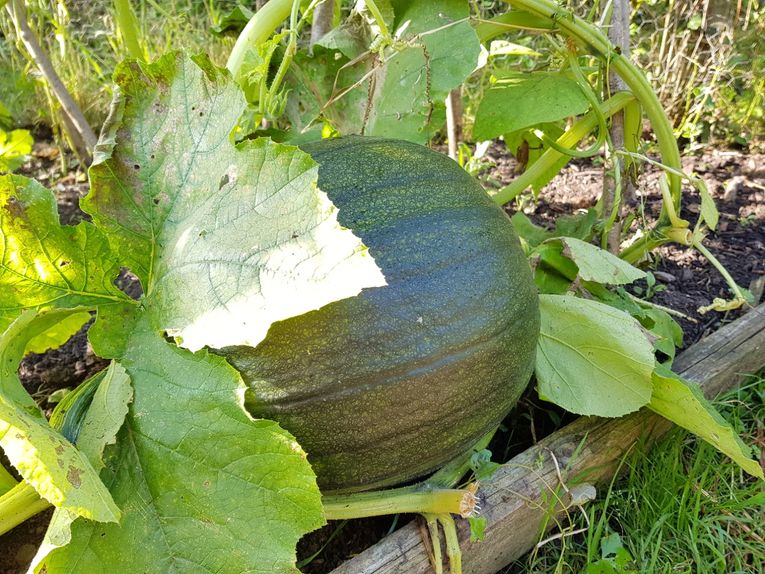
1: You’ll know your pumpkin is almost ready to harvest once the deep green skin becomes tinged here and there with orange. At this point, take off any leaves which are shading the fruit, and lift the whole thing up on bricks or slatted wood – anything that means the fruit is not sitting on damp ground and air can circulate beneath.
2: As the orange colour deepens, turn the fruits carefully by a quarter turn every few days while it’s still on the plant to make sure the sun can get to all parts of the skin. Take great care with this as you don’t want to break the stalk by accident.
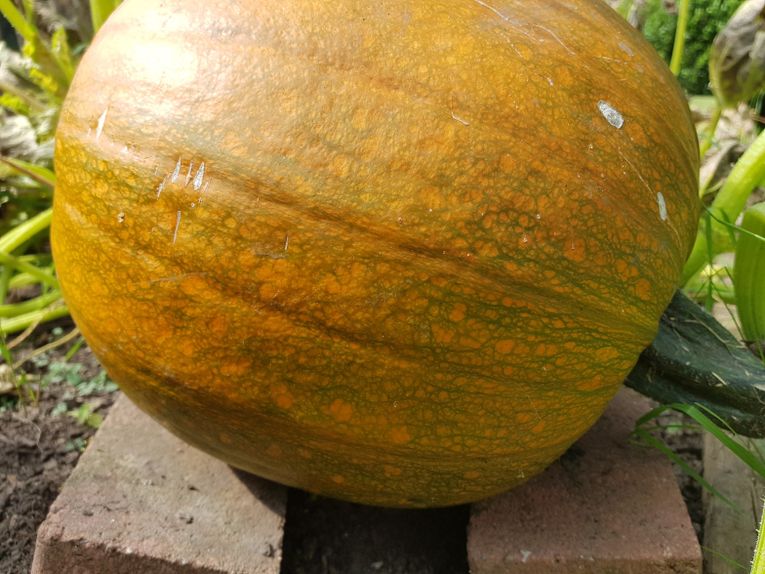
3: This stage of the ripening your pumpkin takes at least two weeks: during this time you may find the plant begins to die back too, but don’t worry – that’s perfectly natural as temperatures begin to fall. Your pumpkin is ready once it’s a deep, even orange colour: some sound hollow when you knock on them, too.
4: Cut away the fruit with the stalk still intact – this is really important, as if you break the stalk away from the crown the rot will set in. The stalk should be at least 10cm long: if your fruit is on a shorter stalk, cut it with part of the main stem as well to make a T with two sidearms, just to be sure.
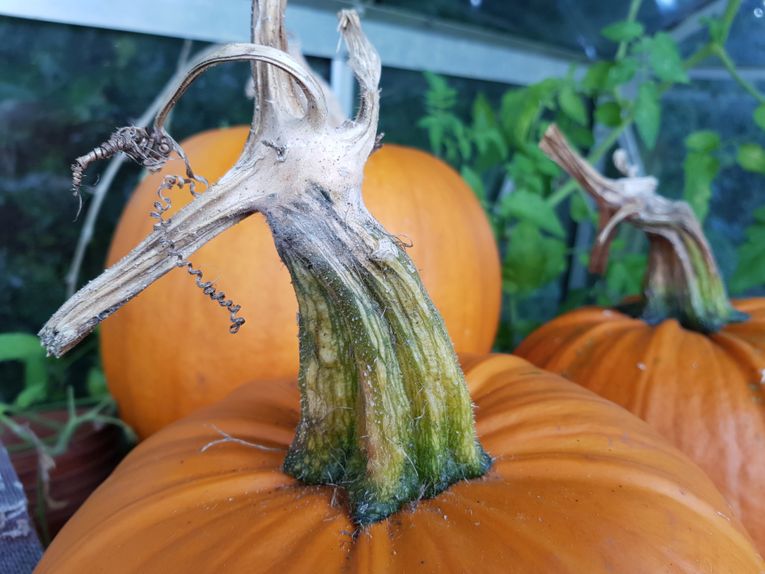
5: Now bring your fruits in under cover for the final part of the ripening process. You’ll need somewhere dry, and warm, and sunny too – a greenhouse is ideal, but if not a conservatory, sunny porch or even the windowsill of a spare room will do fine. Over the next two weeks the skin ‘cures’ or hardens, acting like a shell to keep the sweet flesh inside perfectly preserved till you need it.
6: After a fortnight, your pumpkin is ready to carve, or if you have a surplus, to store for later use. If you can keep your pumpkin on a shelf in the greenhouse, or in the spare room that’s ideal – garages and sheds are often too damp. Turn your pumpkins upside down so any condensation won’t collect in the crowns, and check regularly to make sure they’re still OK: they should keep like this for six months or more, as good as the day you picked them.
Want to learn more? Join Sally in her online classroom today and get help designing your veg garden.
The views expressed in our blog are those of the author and not necessarily lowimpact.org's
1 Comment
-
1Hilary Jones October 12th, 2022
I just love all the fun of carving and lighting pumpkinheads! A real Celtic tradition of winter light and fire. But don’t forget how pigs love the oily seeds from them; and the flesh and skins when no longer wanted. In fact, pumpkins are one of the easiest ways to grow a crop which will help to feed pigs; Atlantic Giants are the best variety I’ve found, so huge that they are funny in themselves.
 A guide to WWOOFing: 10 top tips from Scarlett Penn of WWOOF UK
 Food preservation methods to make the most of seasonal produce: Part 1
 Fruit & vegetable growing guide for October
 Low-impact kids
 Low-impact living
 Vegetable growing


